

Are you a bath or a shower person? I am usually a shower person for the day to day, but I looooove me a good soak in the bath. Baths give me time to relax, recharge and just block out all the noise. (All the noise, noise, noise, NOISE! --for all my Grinch fans out there)
I used to fill my tub with all kinds of bubble bath and crazy concoctions to try and get that spa-like zen that I so desired. Now, I know that many of those concoctions were actually working against me with their artificial fragrances and yucky ingredients. So, I still take baths, but now my concoctions are homemade and actually have benefits for my whole body.
Setting the Stage:
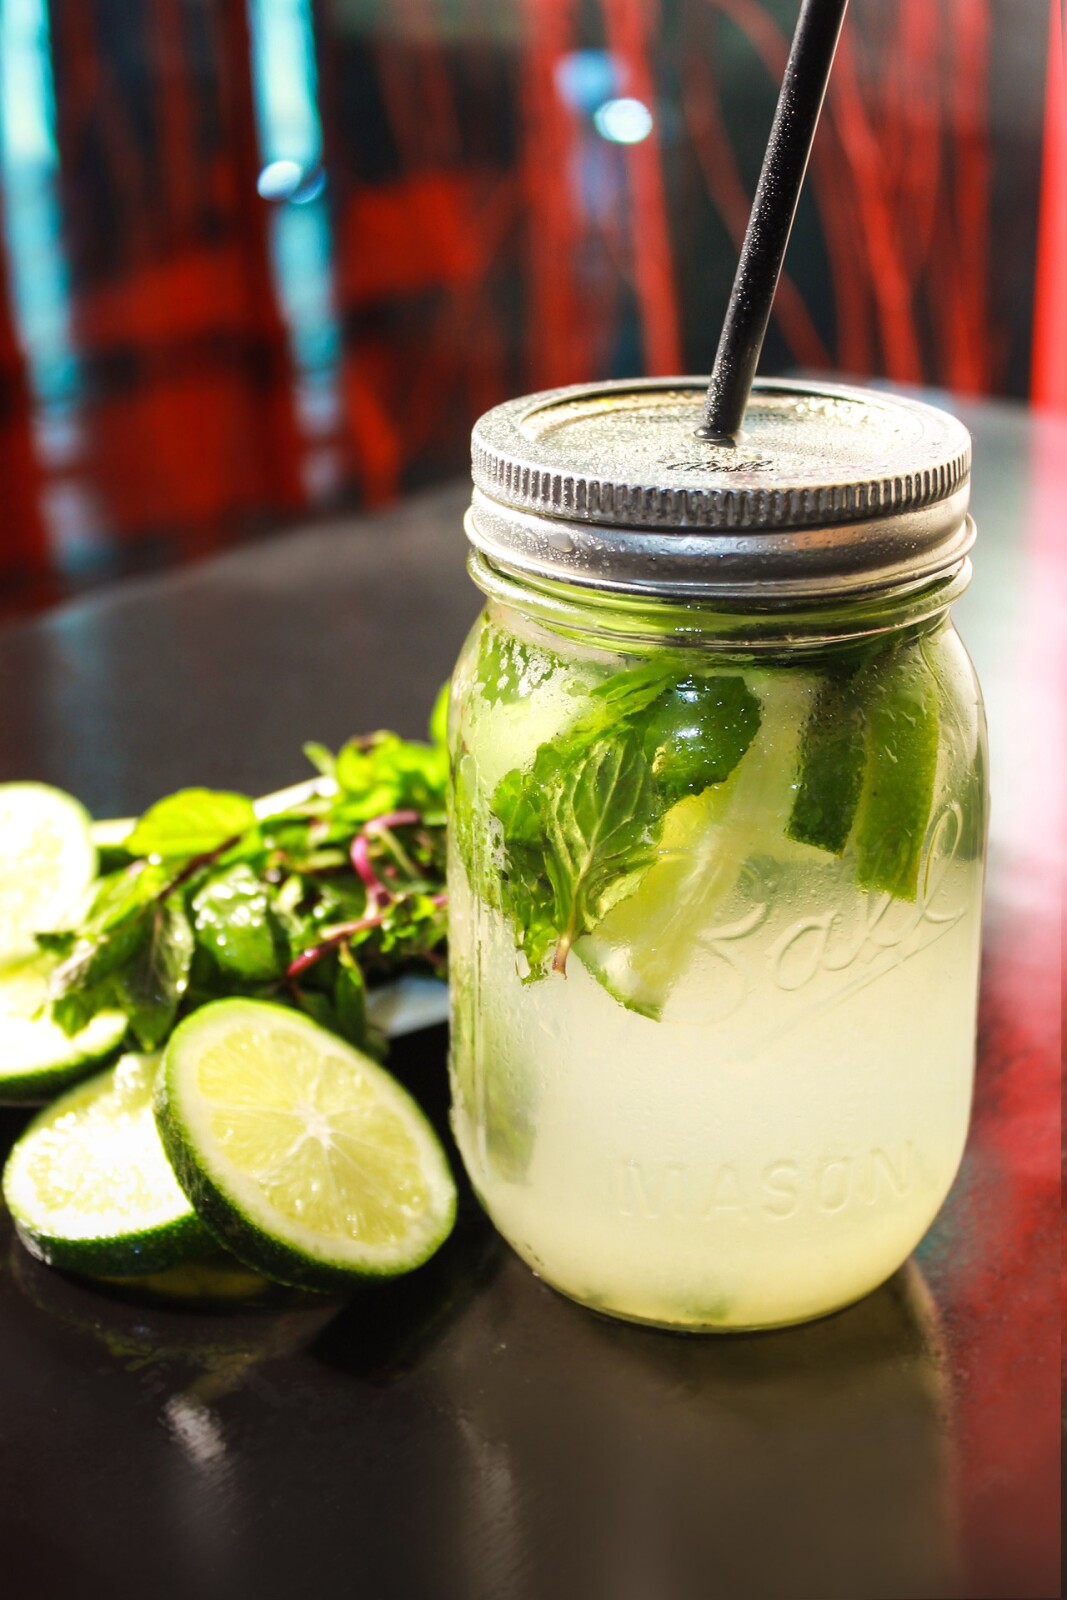
The first key for me is setting the stage. When the kids were little, I would wait until I had them asleep or I would rely on my partner to be on point for all kid related issues. Bath time was not to be interrupted! In preparation for my bath, I would also give it a quick wipe down. I feel like this was kind of like tricking myself into cleaning that big ole tub, but whatever! I didn’t want to be soaking with all the dust and hair that had accumulated. I once lit candles, but now I start up my battery operated ones. I love to have a diffuser running on my bathroom counter with a little eucalyptus and lavender in it. Ahhhh, I’m almost to zen.
Epsom Salts:
Then I mix up my Epsom salts to put in the water. I had heard of Epsom salts before, but I never knew why people used them. Here’s the deal….Epsom is actually a magnesium sulfate that has a similar chemical structure to salt. When dissolved in warm water, the magnesium offers many benefits to the body. Magnesium helps your body produce melatonin which helps you get a better night’s rest. Magnesium has also helped improve moods with an increase of serotonin. Epsom salts help relax muscles, reduce muscle soreness and relieves muscle cramps. Whether it is for emotional or physical reasons, adding Epsom salts to your bath has inherent benefits.
Essential Oils:
When I use Epsom salts, I like to kick things up a notch and include essential oils. By adding the oils to my Epsom salts, the oils have a chance to disperse throughout the bath water, rather than just float on top like an oil slick. (Nobody wants that!) I take about a half cup of Epsom salts and add 4-8 drops of essential oil. After stirring or shaking in a jar, I pour the Epsom salt and oil mixture into my filling tub. Not only do I experience the benefits of the essential oils aromatically as the scent fills the room, I also get the topical benefits as well.
Favorite Recipes:
I like to mix things up, kind of like a mad scientist, with my Epsom salts. I like to mix something that has great physical benefits with something that helps with my emotional needs. Afterall, my baths are to both relax my body and my mind. When I first started out, I would rely on recipes though, so I’m going to share two of my favorites with you.
Chill Out Dude!
½ cup Epsom salts
3 drops of Peace and Calming essential oil
3 drops of PanAway
Happy Mama
½ cup Epsom salts
2 drops Bergamot
2 drops Northern Lights Black Spruce
2 drops Frankincense
Start your tub running warm water while you mix up your salts.
Put the Epsom salts into a small bowl or little mason jar. Add the essential oils from the recipe of your choice.
Mix the oils into the Epsom salts by stirring or shaking in the jar.
You want to pour the mixture in a tub that is about half way full. This allows the flowing water to help with mixing the bath salts throughout the tub.
Let the tub finish filling and then enjoy your relaxing oasis.
Not all essential oils are created equally. If you want to know what I use, send me a message and I can fill you in on the only oils I trust for my family.
Interested in increasing your overall wellness? I created a free guide to kickstarting a healthy school year. It is perfect whether you are a teacher, student or any kind of human. Check it out over here.
Want to subscribe to my blog so you don't miss a thing? Click here and I'll shoot you an email whenever a new blog post lands.
Want to subscribe to my blog so you don't miss a thing? Click here and I'll shoot you an email whenever a new blog post lands.
We used to have the daily struggle of, “what do you want for dinner?” Then, “I don’t know, what do you want to do?” Back and forth we would go. When we finally came to a decision, using what we had on hand, we were both too exhausted to make it happen. Or, we would decide what we really wanted included ingredients that were still at the store. Half the time, we ended up going through the drive through. So much frustration! Then, there were the days that the kids were asking incessantly what’s for dinner because they didn’t know mom’s secret menu plan. I got tired of them asking and they got tired of never knowing.
I decided long ago that for the sake of my family’s finances and my sanity, I needed to meal plan. Sure, you can get by without it, but this life is too important to just “get by”.
Finally, I created a tool that changed all of that frustration!
Now, to be clear, this tool has gone through many improvements over the years. I can tell you that when I use it, my family is happier, at least in terms of regular feedings. For some reason they expect dinner in some form every single night! Go figure!
Here’s what I do…
Check the grocery ads to see what is on sale this week. (That’s where the money saving comes into play!) This allows you to build a menu based on sale items.
Go to the Farmer’s Market to get your freshest ingredients based on what is available that week and use that to help form some of your menu as well.
Check the family calendar and fill in your events for the week. I know that days with practices meant that we needed something quick that could be prepped ahead of time.
Plan in some fun. Maybe that means you do Taco Tuesdays or Fend For Yourselves Fridays depending on the ages of your kids. Breakfast for Dinner is always popular at my house.
It’s ok to plan a meal eating out, if that works for your family. The point is that you can’t plan your budget for all kinds of spontaneous trips to a restaurant. I know that even on the busiest of days, if I had a plan for dinner, I was a lot less likely to give in to the drive through. When we had late football games, we would plan on a snack before the game and we would hit the drive through afterwards. It was part of the plan, so there was no shame in that.
Be flexible! As things come up in the week, feel free to swap things around if they fit better for you. I know there were days that I had planned for a crock pot meal, but the morning got crazy and I couldn’t get things started before work. That was okay because I just swapped it with the next day’s meal. Easy peasy!
Let the kids get involved. Ask them for their favorite meals to plug into your week. We would plan for a balance of their favorites and the adult favorites so everyone can be happy at least some of the time. I mean, we are realists over here!
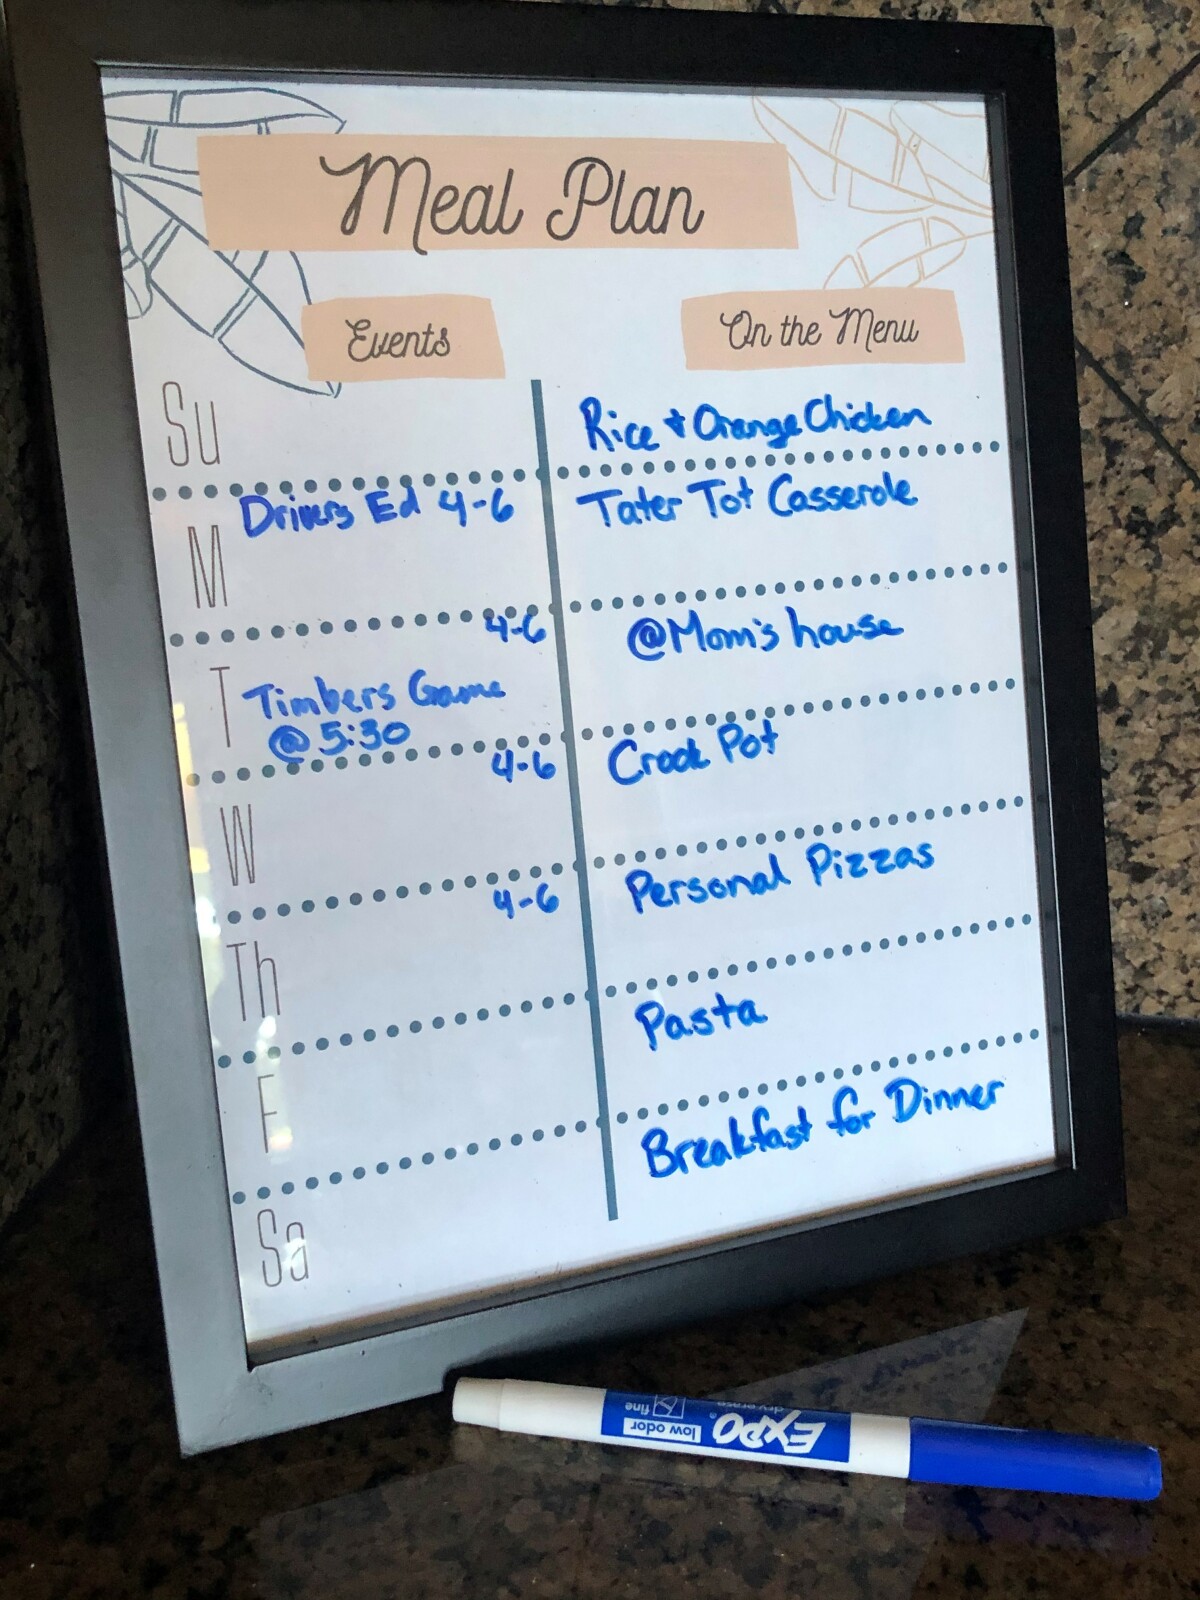
One of the fun things I did was start posting the dinner menu for the week on the side of the fridge. I printed out a simple planning sheet, laminated it and wrote with a dry erase marker each week. By doing this, my kids, and even my husband, stopped asking all the time what was for dinner. They checked the menu.
This did a couple of things. It set the expectation for dinner. There was no need to roll their teenage eyes at me when I told them what the planned dinner entailed. They could, and surely did, roll their eyes when I wasn’t present. I am pretty sure that the menu informed their choice of snack when they got home from school. There were times that they had a heartier snack when the meal was not a favorite. This works for me because I knew that they were getting fed.
I also found that more often than not, my husband would take a more proactive role in the kitchen. He would check the menu plan and make sure that the proper meat was defrosting. Some days, I would even come home to find that the meat was already browned for that night’s dinner, eliminating a step for me.
One of my favorite things is that by declaring what was for dinner ahead of time, I didn’t have to think when I got home after a long day. I could just take action and make dinner. Sometimes thinking is hard at the end of the day!
My current version of my menu plan is my favorite of all. I created a beautiful template that allows me to notate any events that are happening for the family because that informs many of the menu choices. I can then write in the menu plan for each day. Now, I have trimmed the page and put it in an inexpensive 8” X 10” picture frame. I use my dry erase marker and can easily wipe the glass off each week. It is pretty and makes my heart happy! I love that it is easy to swap out for different colors if I want for a different season or if I change my decor.
You, lucky reader of my blog, can get this fun little planning sheet in all its colors for free because I believe that everyone deserves to have an easy way to plan your week.
Click here for immediate access to my meal planner.
Want to subscribe to my blog so you don't miss a thing? Click here and I'll shoot you an email whenever a new blog post lands.

Are you a victim of greenwashing? Many of us have fallen for the marketing ploys of clever companies. We want to do what’s best for our families, but are we really?
The Cambridge Dictionary defines greenwashing as…
“an attempt to make people believe that your company is doing more to protect the environment than it really is”
Those candy colored bottles may seem eco-friendly, quirky, hipster, and homemade -- but that’s just NOT the case. They may even be named to evoke feelings of someone’s grandma on a farm who mixes up that stuff. They may put a farm on their logo and change their color scheme to green. The labels may be filled with words like natural, clean ingredients, eco-friendly and plant-based. Truth be told, the company is likely owned by a major corporation who also makes toxic cleansers and pesticides.
Its kind of like the “low fat” claims of yesteryear. All of a sudden, we kept seeing LOW FAT on labels. It sounds great, but in reality, for many products, it simply meant that it was just lower in fat than the regular version which had tons of fat. So, was it healthy for you because it said “low fat”? Not necessarily! There was no regulation in place to ensure that it was in fact below a certain standard of fat.
What was behind all of this? Companies bottom lines. They knew that in order to compete in that market, they had to have something labeled in a way to sell their product.
The emphasis on labels for the “natural” ingredients does not tell the whole story. Let’s say that a product has 65% plant based ingredients. So, what’s the other 35%? Likely toxic ingredients that you definitely don’t want in your home. Of course, the label is not going to highlight that part. The average consumer will read the front label and see “natural” or “plant-based” and look no further. We need to do our due diligence again as consumers.
You may be surprised to find out that organic does not mean pesticide free. The USDA approves certain pesticides, so just being labeled “organic” is not enough. If it matters to me, I need to look at the source.
- Claims on the package that don't have any facts to back them up.
- Claims that sound too good to be true.
- Labels filled with jargon mumbo jumbo that are designed to "sound good."
- An ingredient list that doesn't match up with claims.
- Newly repackaged items that are identical in contents, but suddenly are "natural."
- Emphasis on a small part of the product that is eco-friendly while the rest is not.
Companies are smart, but WE are smarter. We decide what products we buy. We are the gatekeepers of our homes. If we want the best for our families, we either need to find a company we trust, make our own products, or some combination of both.
Interested in what products pass the test for my family? Ask me here to find out.
Want to subscribe to my blog so you don't miss a thing? Click here and I'll shoot you an email whenever a new blog post lands.
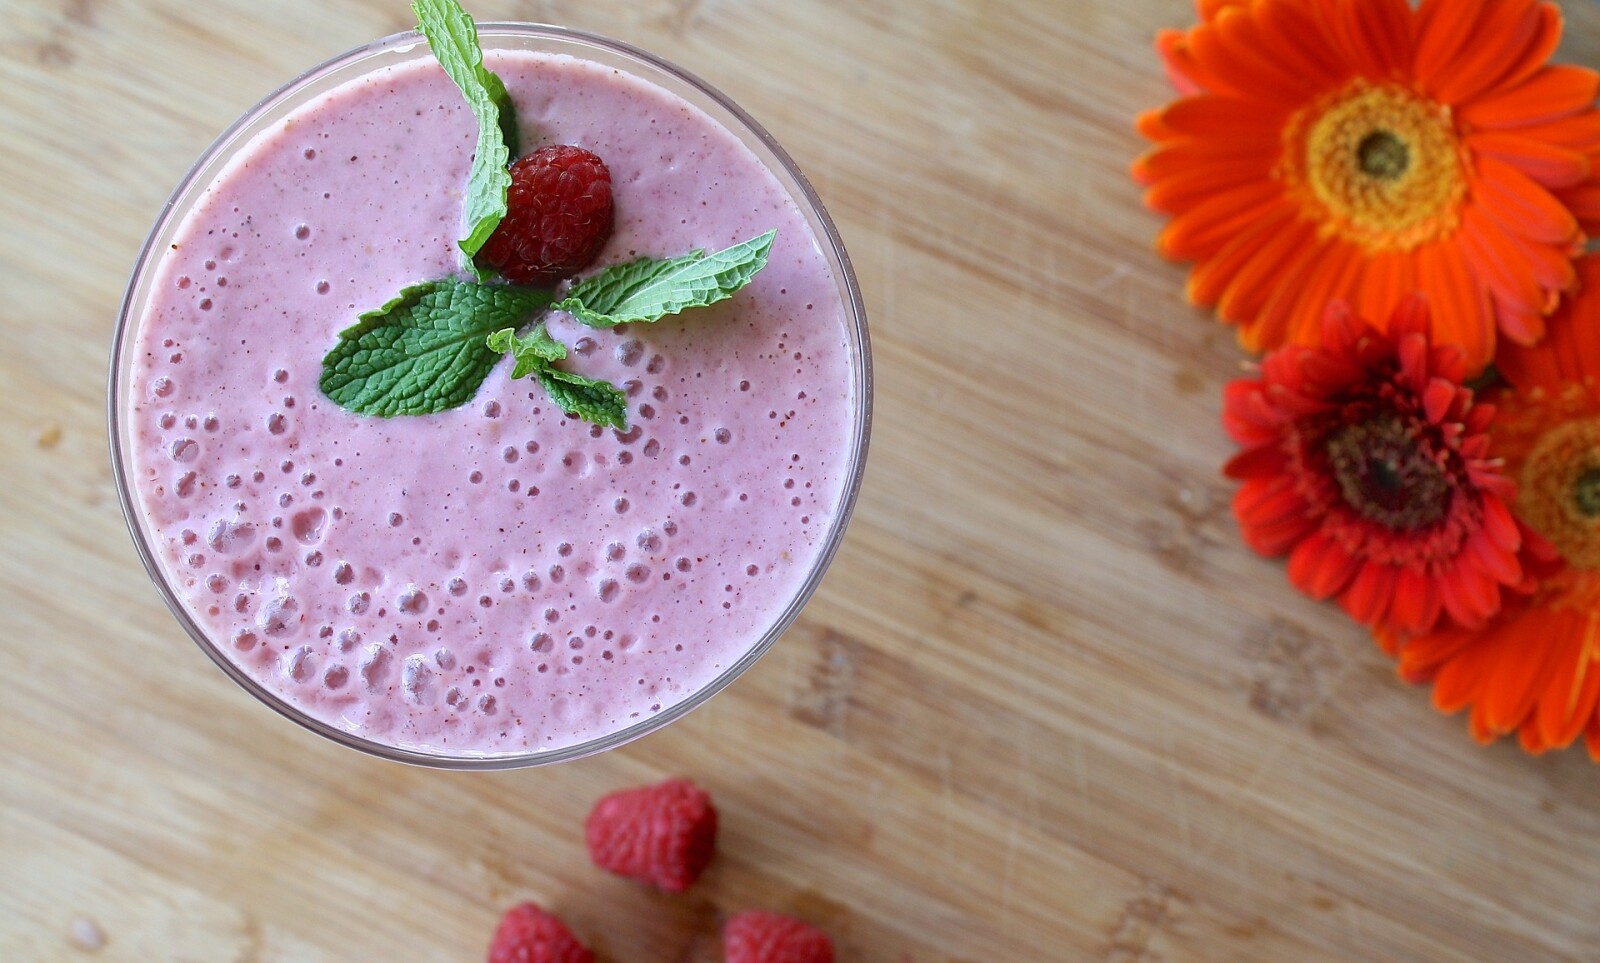
I love drinking fruit smoothies. I started making them daily some time ago. I have found that it is an easy way for me to make sure I’m getting enough fruits and veggies in my system, even on the busiest of days.
I used to pull out all my ingredients, mix everything up and then put all the things away, washing the measuring containers daily. You know how frozen fruit starts to thaw on the kitchen counter? Well, then when it refreezes, you get these huge chunks that solidify together. They are a pain to break up so your ingredients will fit into the blender. Plus, if I was feeling lazy, I would go for shortcuts that mean I am not getting all of the goodness that my smoothie was meant to be. I knew there had to be a better way.
Here’s what I do now to prep my smoothies for a week, or more. I love this system, because I don’t have to think that hard, and I can just toss the container into the dishwasher or give it a quick wash by hand. Easy peasy!
Cast of characters:
Containers for each day - I love the ones that come in a pack of 3 and hold a pint. I have an assortment because I have accumulated them over time.
Frozen fruit to suit your style - I use a huge bag from Costco to get the most bang for my buck. If I see some on sale at the grocery store in a fun flavor, I will pick them up and put them in the freezer.
Baby spinach - I like how these freeze with the fruit.
Seeds - If you like to put flax seeds, or anything of that sort into your smoothies, this is a great way to simplify your process.
Juice/water - My favorite liquid mix starts with a superfood antioxidant drink, a splash of orange juice, and then the other half is water.
Protein powder - I like one with collagen to help this mama’s joints.
Blender - My favorite is the Ninja Nutri Pro
The process:
Set out all of your containers with the respective lids. I realize this task alone will be a challenge. That’s why I love the multi-pack small containers. They mix and match well.
Use a 1 cup measuring cup to scoop one cup of frozen fruit into each container. If some scoops come out uneven, you can top them up before moving on to the next step.
Add a handful of baby spinach to the top of each container. You are going to want those nutrients. I really don’t even taste the spinach. Unless you put in a ton, your smoothie is not going to turn green.
At this point you can measure out any flax seeds, or dry ingredients you want to top off with. I prefer to add my protein powder daily as I mix things up, because the powder doesn’t come out of the containers as easily as I would like after being in the freezer. You know I’m all about easy, so you know that’s a no go for me.
Add lids to your containers and put in the freezer.
Put away all your ingredients, clean up your scoops, and the counters.
Daily:
Put the liquid ingredients into your blender. I use 2 ounces of my favorite superfood antioxidant drink, a splash of orange juice and then fill the rest with water up to about the 10 ounce mark. I used to measure, but I’m lazy, so I guesstimate based on the marks on my blender. You can measure if you want to, especially as you get used to the process. I top up with water because I know that the fruit will add plenty of sweetness, so I don’t need a fully juice based smoothie.
Take out one of your premade containers and dump all the ingredients into your blender.
Add a scoop of ice. You may have to play with the amount you use. If you use too much, your smoothie may be really thick and brain freeze central. Too little and it will be more of a juice type drink and less like a smoothie. Go with your preference!
Add your protein powder.
Mix away!
Enjoy that nutrient packed smoothie as an after workout drink or morning get up and go beverage.
Easy cleanup - Toss the containers in the dishwasher. Rinse the blender out before the fruit has a chance to dry on the sides.
There you have it! One of the things I like about this plan is that I can tweak things as my tastes shift. I can have a few different fruit mixes that I alternate throughout the week based on my daily preference.
What are your favorite fruits to include in your smoothie?
Want to learn about how this teacher mama kicked the soda habit? Grab my guide here.
Want to subscribe to my blog so you don't miss a thing? Click here and I'll shoot you an email whenever a new blog post lands.

I don't know if you wear makeup daily or not. (Lately I'm more of a “not” kinda gal!) When I do wear makeup, my struggle is always how to remove that eye makeup. Waterproof mascara serves a purpose, but it's a devil to take off.
So, here's the deal...We put chemicals on our skin and eyelashes to get them to stay all day, but the only way to take them off is to add more chemicals for removal. That's nuts!
Your skin is the largest organ in your body. All of those pores absorb EVERYTHING that is rubbed in, sprayed or applied during your day. If it goes on you, it gets in your bloodstream. So, if your eye makeup remover has parabens, phthalates, Sodium Lauryl Sulfate or even "fragrance" you are probably doing more harm than good.
I know you are not lining up to say, "Hey give me more chemicals in my body please!" So, what's the solution?
When taking off your makeup, you can use more natural options that you may actually have in your kitchen right now.
I love to put a little bit of coconut oil right on a cotton pad to remove my eye makeup. It works like a charm and I wash my face afterwards with my natural cleaner and all residue is washed away.
I hear other people try olive oil, but that tends to be a little thicker and leaves me feeling greasy. Sweet almond oil and Jojoba are also great at removing eye makeup. Basically, a fatty carrier oil like those mentioned above will do the trick.
Are you wanting something more? I found a great recipe in my research that really works well.
Makeup Remover Pads
From Dr. Lindsey Elmore:
Ingredients
1 tablespoon witch hazel
2 tablespoon fractionated coconut oil
2 tablespoon distilled water
4 drops lavender essential oil
2 drops frankincense essential oil
Equipment
Cotton rounds
4 oz. glass jar
Instructions
Mix witch hazel, coconut oil, water, lavender essential oil, and frankincense essential oils in a small bowl.
Whisk to combine.
Place cotton rounds inside glass jar. Pour mixture over the top of the cotton rounds.
Screw on lid, and invert jar a couple of times to saturate the pads.
Store at room temperature for a few weeks. I recommend making small batches more often so the risk of bacterial contamination is lower.
**Added bonus: You can feel good about ALL of the ingredients you are putting on your face!
Have you tried a natural oil based makeup remover before?
Interested in increasing your overall wellness? I created a free guide to kickstarting a healthy school year. It is perfect whether you are a teacher, student or any kind of human. Check it out over here.
Want to subscribe to my blog so you don't miss a thing? Click here and I'll shoot you an email whenever a new blog post lands.