
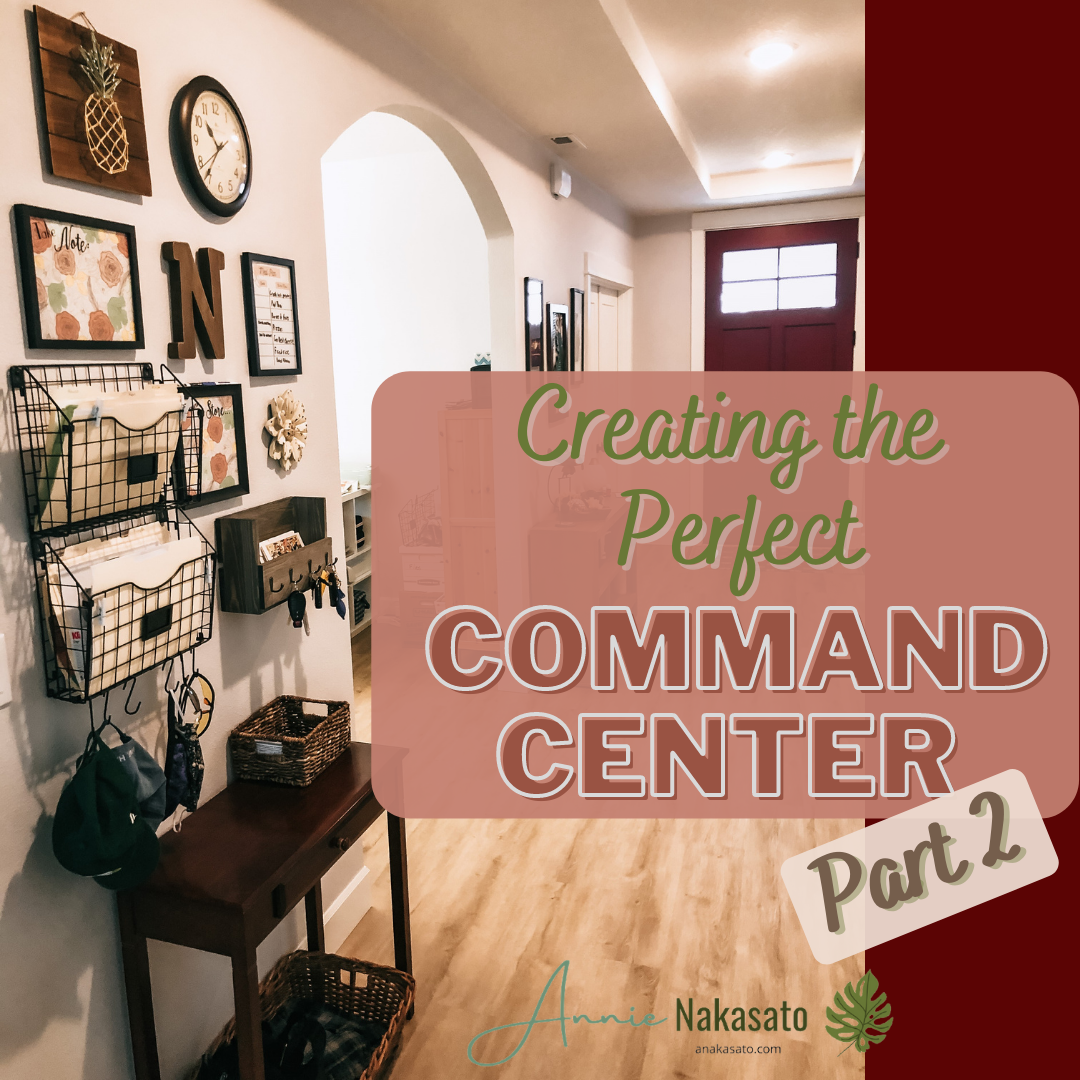
In part one of this series, I explained my family's need for a command center, my planning process and what items I chose for my wall as well as how I chose the layout. (If you missed it, you can catch up here.) In part two, I will go through how I actually hung the elements for my wall and how it is working for us.
The Installation:
When the layout on the floor met my approval, I used scrap paper and newspaper/grocery ads to mock up my template. I traced each item on the floor and cut out a matching paper shape to hang on the wall with painter’s tape. By doing this, I was able to better visualize the final product. I made a few tweaks at this point to avoid using the level too frequently and adjust spacing. This was where I realized that one of the frames was going to be harder to write on because of its height. I was much happier to deal with that adjustment before I had made holes in the walls (or needed to grab a stool every time I wanted to write on it).
With my wall template hanging for a bit, I was ready to install our family command center. I started with the trickiest parts that would need wall anchors for stability. Then I moved on to the easier elements.
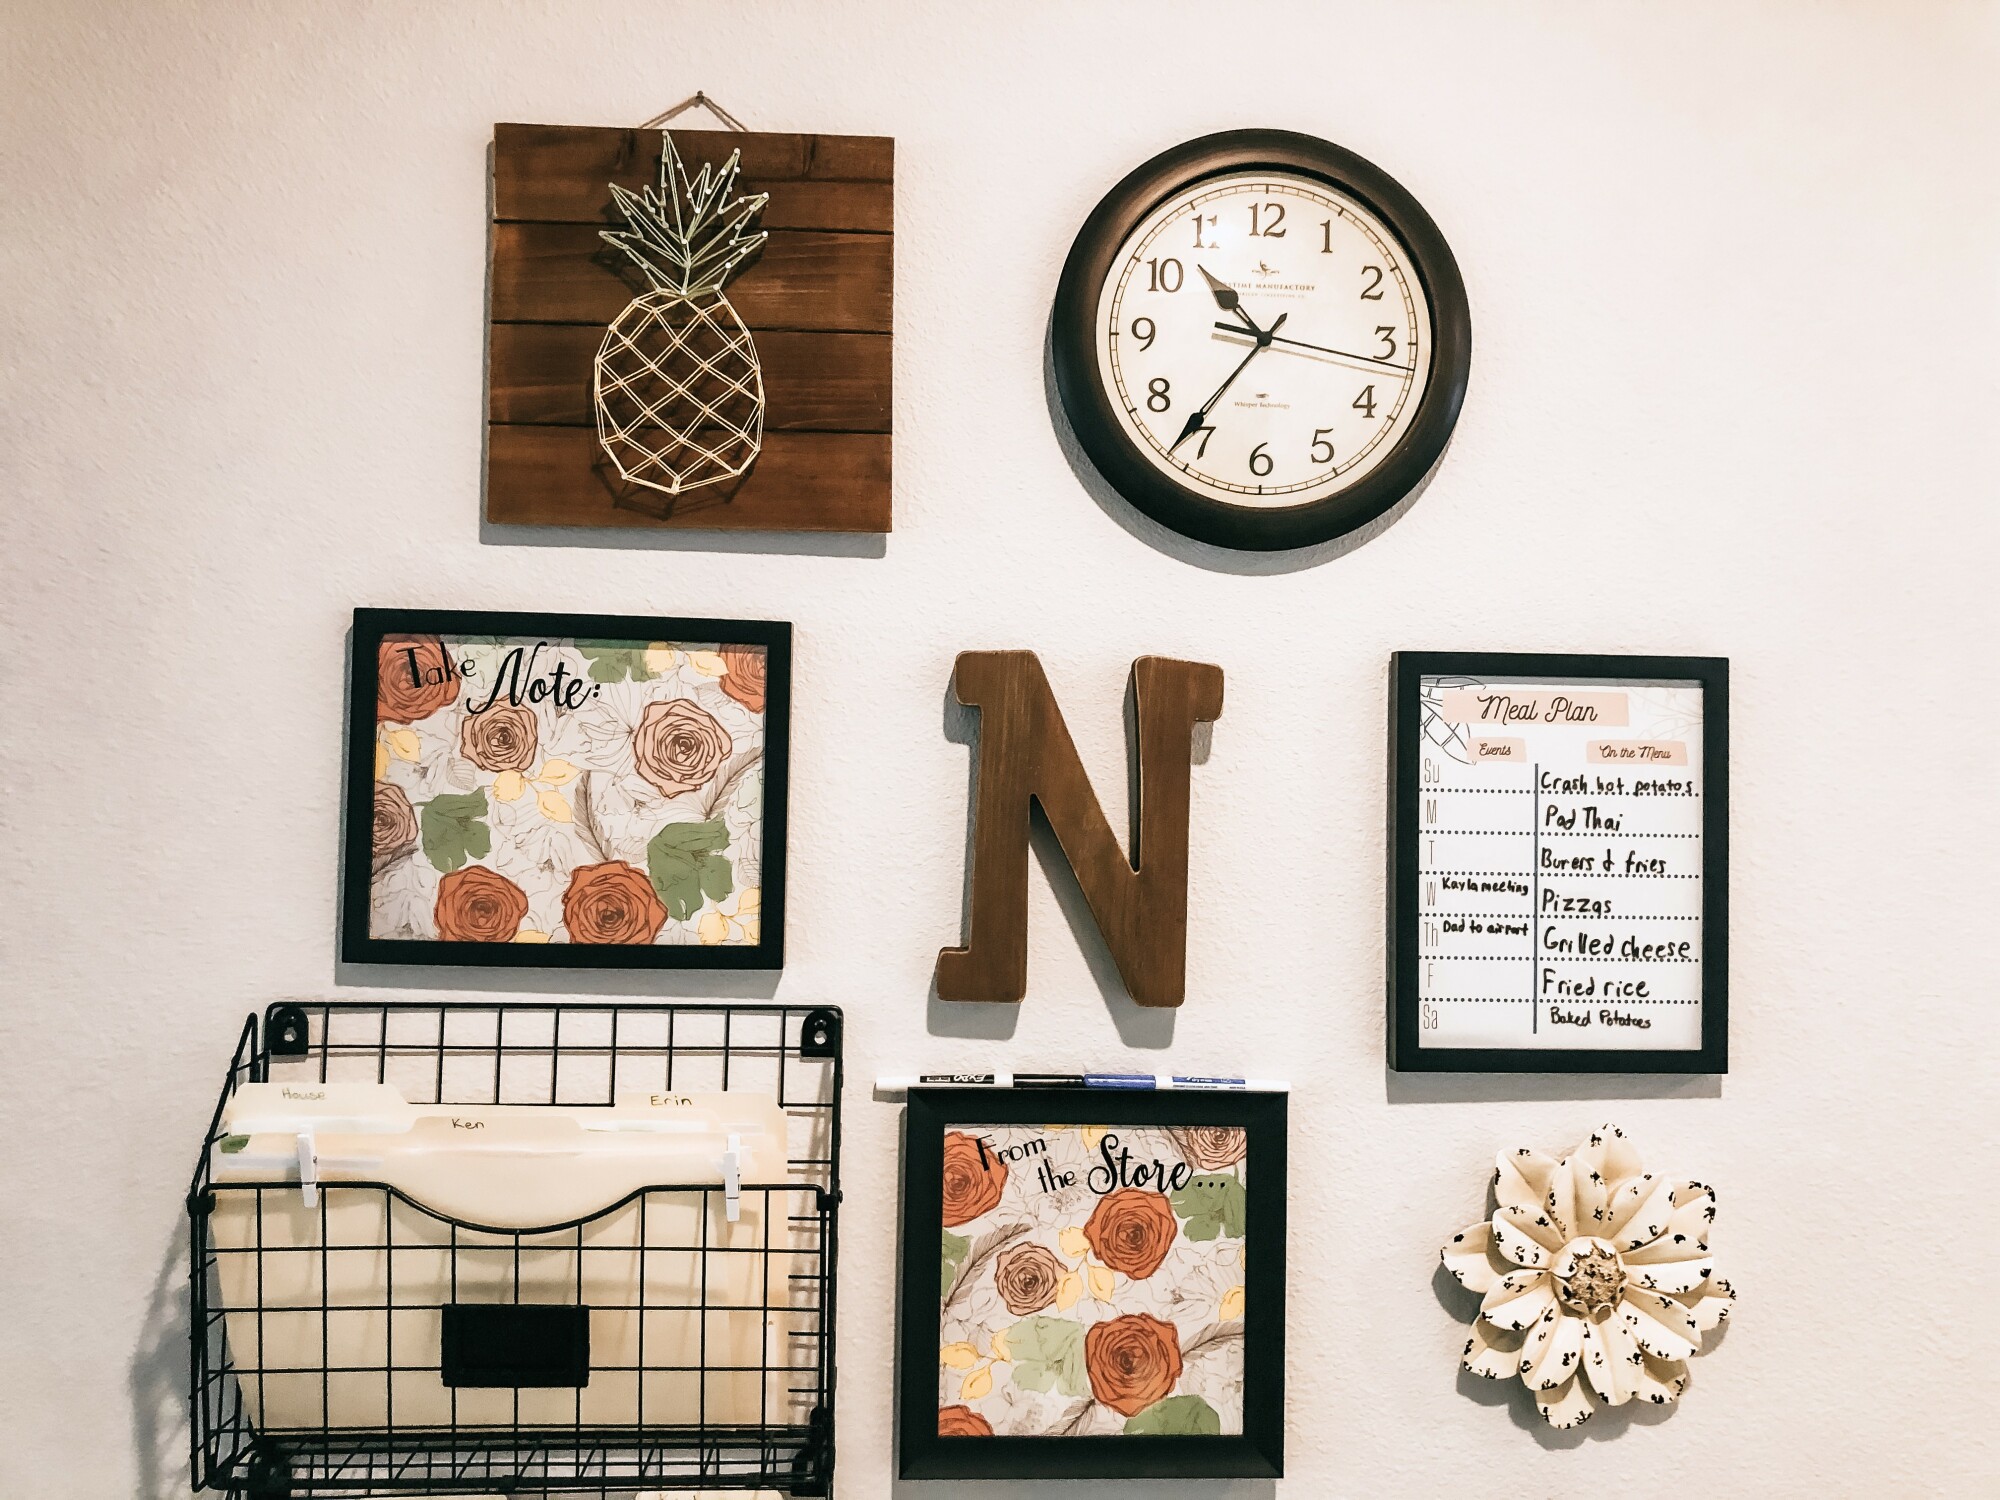 The paper organizer needed wall anchors and to be completely level to the ground. I held up the organizer to the wall and marked on my paper template where the holes needed to be. I checked my paper for level before doing anything else. Because I needed to drill two holes, I decided to make pilot holes in the wall with a small nail. This meant that I could remove the paper before actually drilling. I have drilled through the paper in the past and it works fine for one hole. I was worried about the paper twisting with the drill and thus moving the mark for the second hole. Wall anchors are my nemesis, so I was sweating this a little bit. I don’t like making huge holes in brand new walls. As it turned out, I didn’t need to worry at all. Plus, one of my pilot holes revealed a stud in just the right spot, so I only needed one actual wall anchor.
Then I moved on to the key hook/mail organizer. This would also need secure anchors because of the weight. Marking the holes was a little more difficult because it hangs from keyholes on the back that are not flush with the top. I had to measure down from the top of my template to get the holes where I wanted them. After many years of struggling to get the holes just the right distance from each other, I used my painter’s tape trick. I put the painters tape on the back of whatever I am hanging and mark the hole spots on the tape. Then, I hang the tape on the wall and use a level to check that the tape is placed correctly.
The other elements I could use a simple nail or command velcro to attach. I love to use command velcro strips because they are so easy to adjust if you later realize you want to make a small adjustment. No extra holes in the wall is always a bonus for me!
How it’s going:
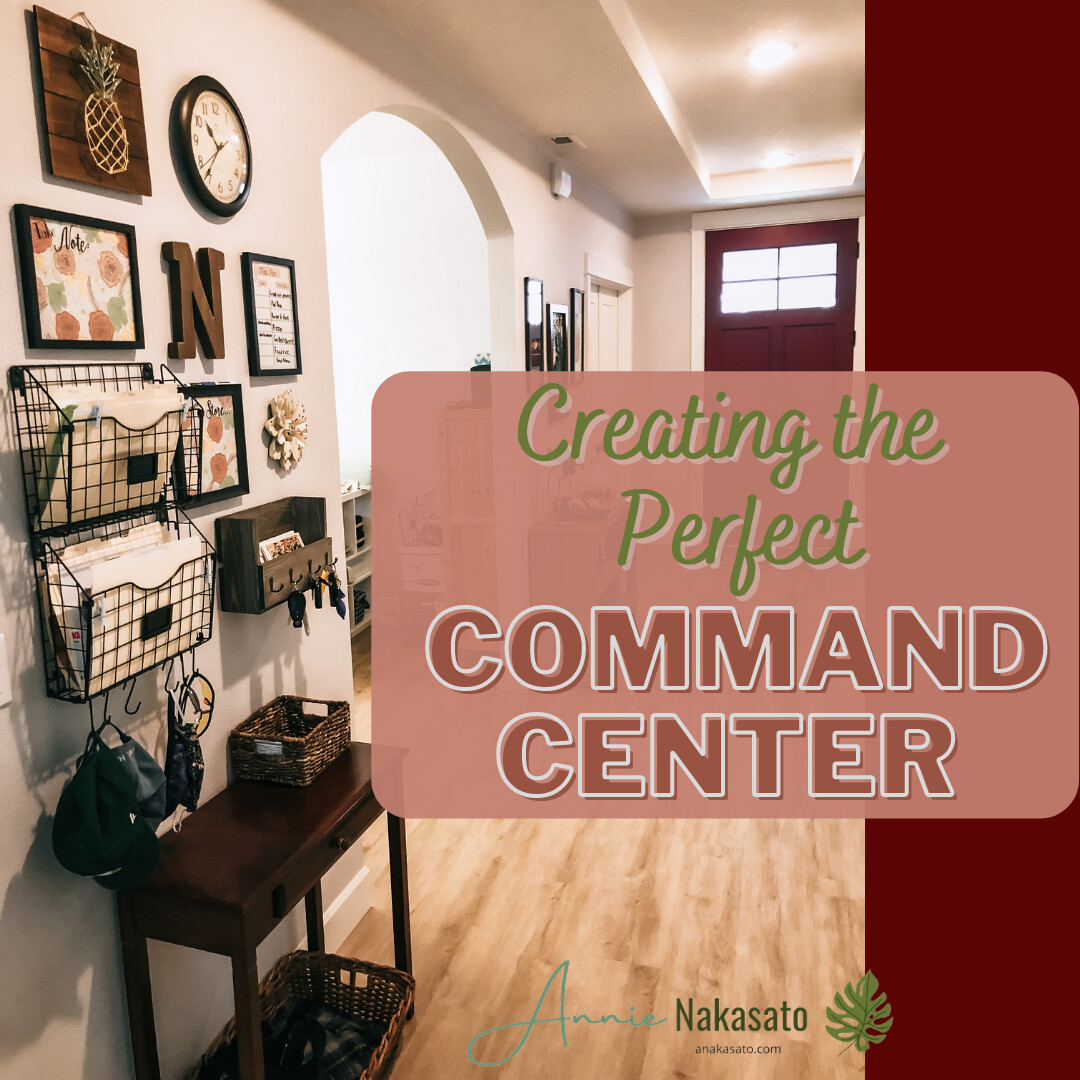
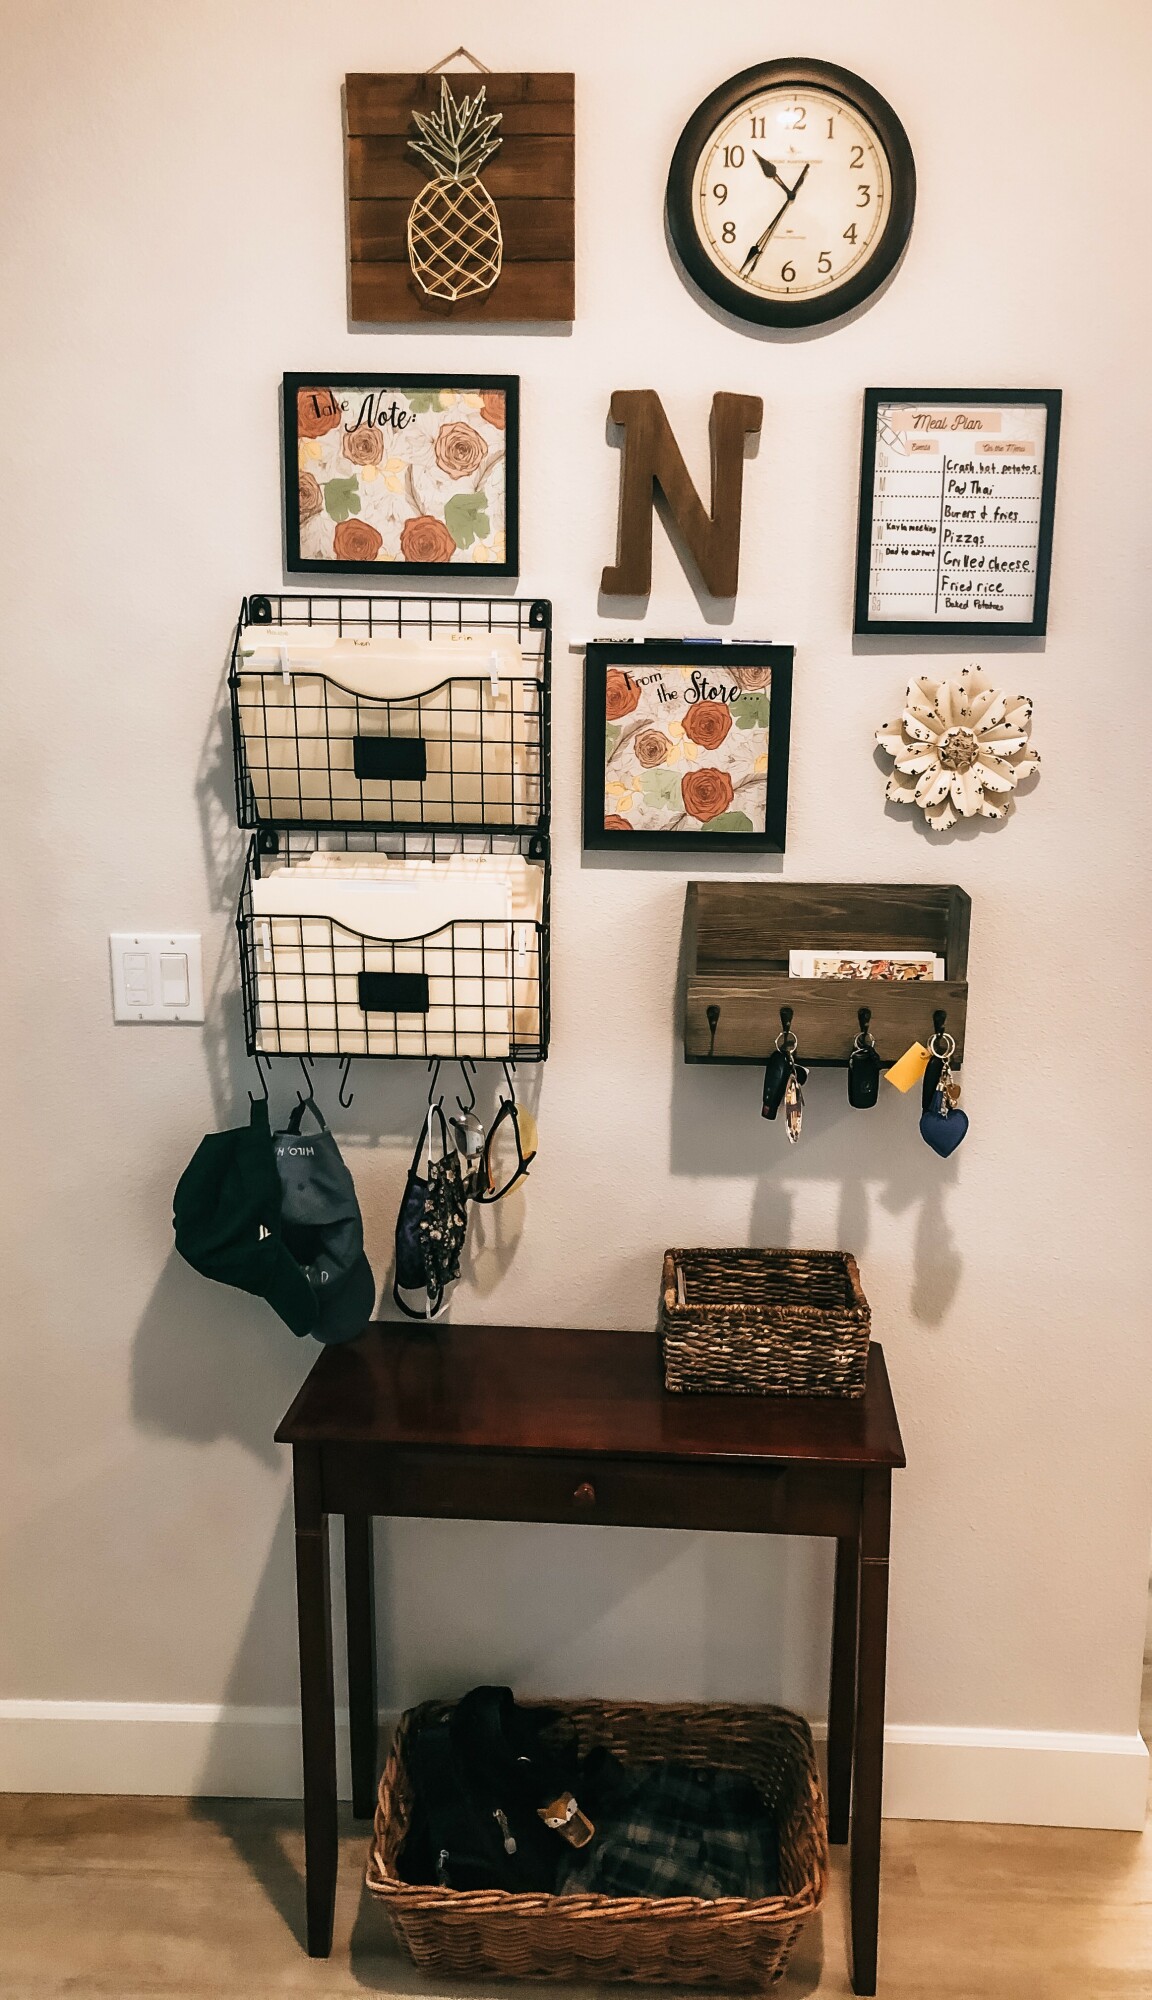 We are loving our Family Command Center. If I am slow to put up the meal plan for the week, one of my girls will take it off the wall and fill it in for me. The shopping list is my favorite thing to use during the week. I used to try to have a running list, but that paper would often go missing. Now, I don’t have to worry about that. I love to say, “add it to the list!” It is great to be able to see that list as I grab my keys when I am headed out the door. If I happen to be making a grocery stop mid-week, I can pick those things up. Or, they end up on my regular weekly shopping list.
The extra white board is a fantastic place to list upcoming events. I used it to write down my daughter’s new work hours because it took me a while to adjust to the different times. (I think she was glad I stopped asking her over and over.) It was also the perfect spot for the Wi-Fi passcode for visitors. My niece and nephew found it very quickly when they visited at Easter.
I originally hung the N with nails because there were nail holes on the back. I have since decided that a command velcro strip is actually better because it seems that the holes on the back of the letter are not actually level with each other. I had adjusted it by stuffing the hole with a wad of paper to move down where the nail sits on one side so it is more level to the eye. This is the kind of lighter weight decor that would work better with velcro so you can make those adjustments more easily.
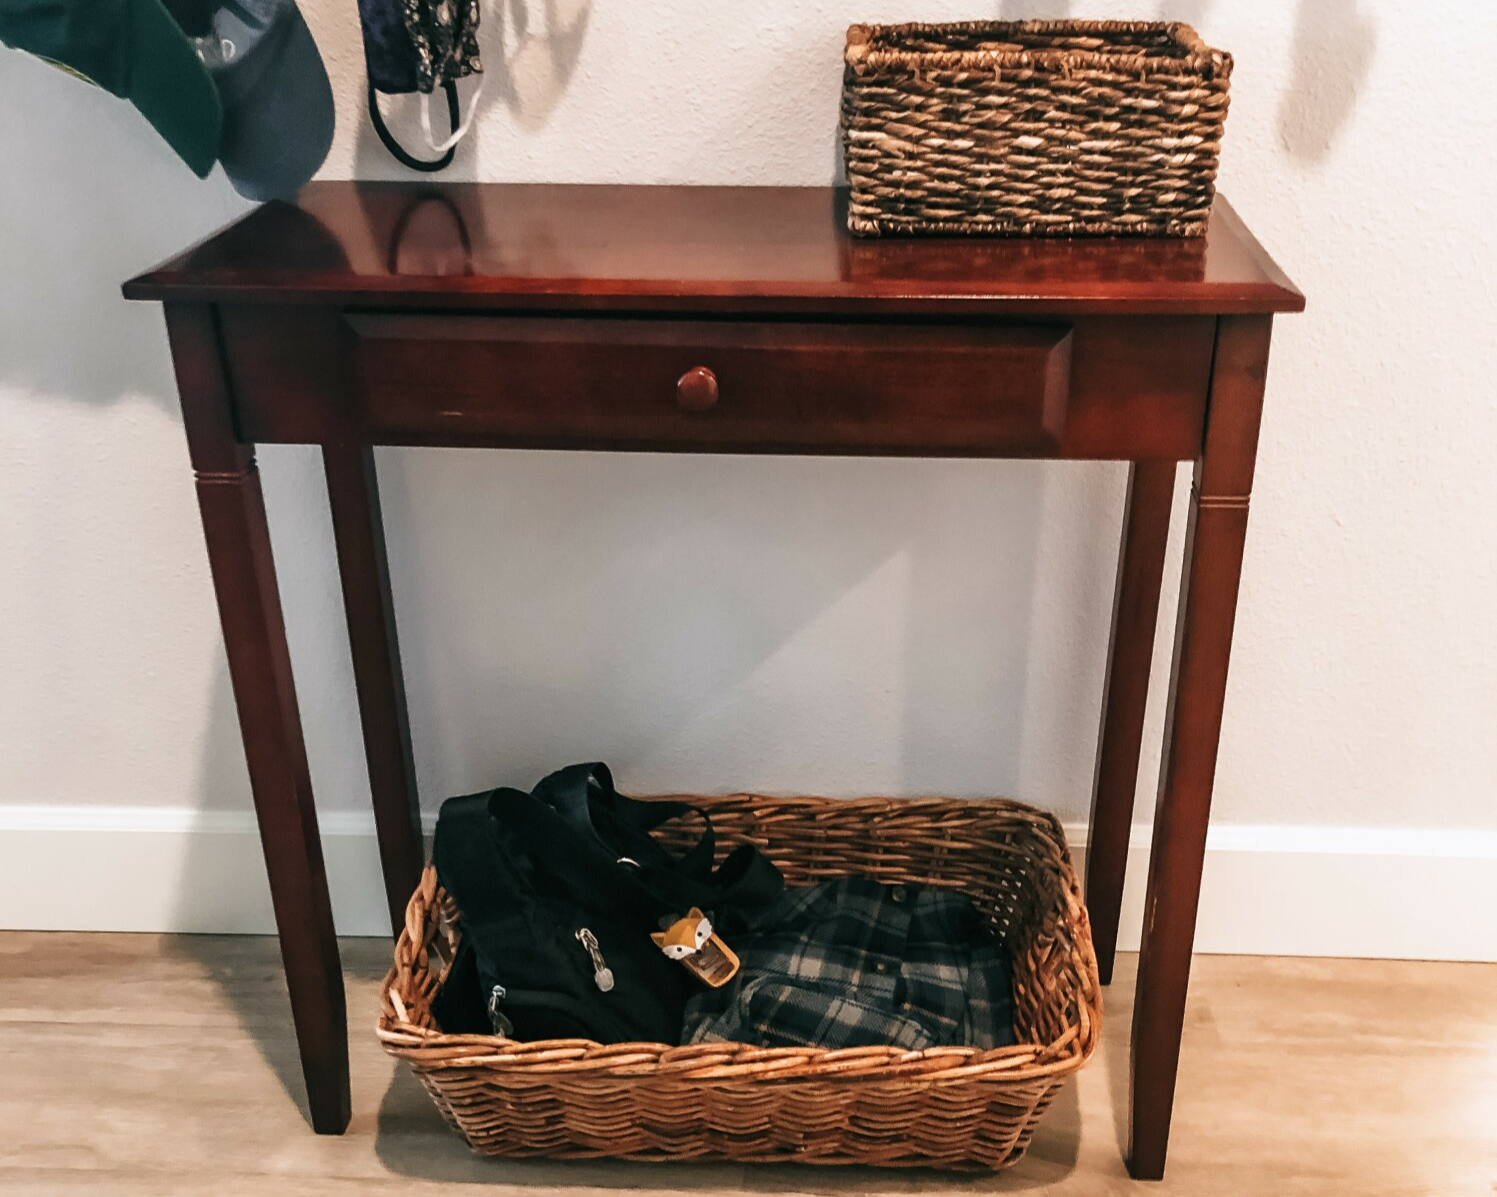 For now, the purses are great in the existing basket. I may need to get something taller if the puppy decides to start chewing on the purse straps. For now she’s just sniffing around them. Ideally, that’s all she’ll do, but she’s a puppy and is starting to get a little more bold every day.
In the paper organizers, I have a folder for each family member (including the dog, of course!), one for house receipts/paperwork and another for coupons. I love to use coupons, but I always had a hard time remembering where I put them in order to actually use them in the store. Now, it is easy to just flip through the folder from time to time and get rid of the expired ones.
I love having a launching pad for all of us in one spot. Our house runs more smoothly when everyone knows where to look for information and we don’t have to hunt for keys or sunglasses. Everything has a place. It has been in place for two months and it is working well for our family.
What is something you wish was in your family command center? Tell me in the comments below.
There are some simple changes you can make today that will create a better world for you and for your children. You can get my FREE guide to living more sustainably called How a Normal Person Can Be Semi-Crunchy. You don’t have to wear Birkenstocks, live off-grid in a yurt and produce zero waste to make a difference, but that is totally an option.
Want to subscribe to my blog so you don't miss a thing? Click here and I'll shoot you an email whenever a new blog post lands.


0 Comments