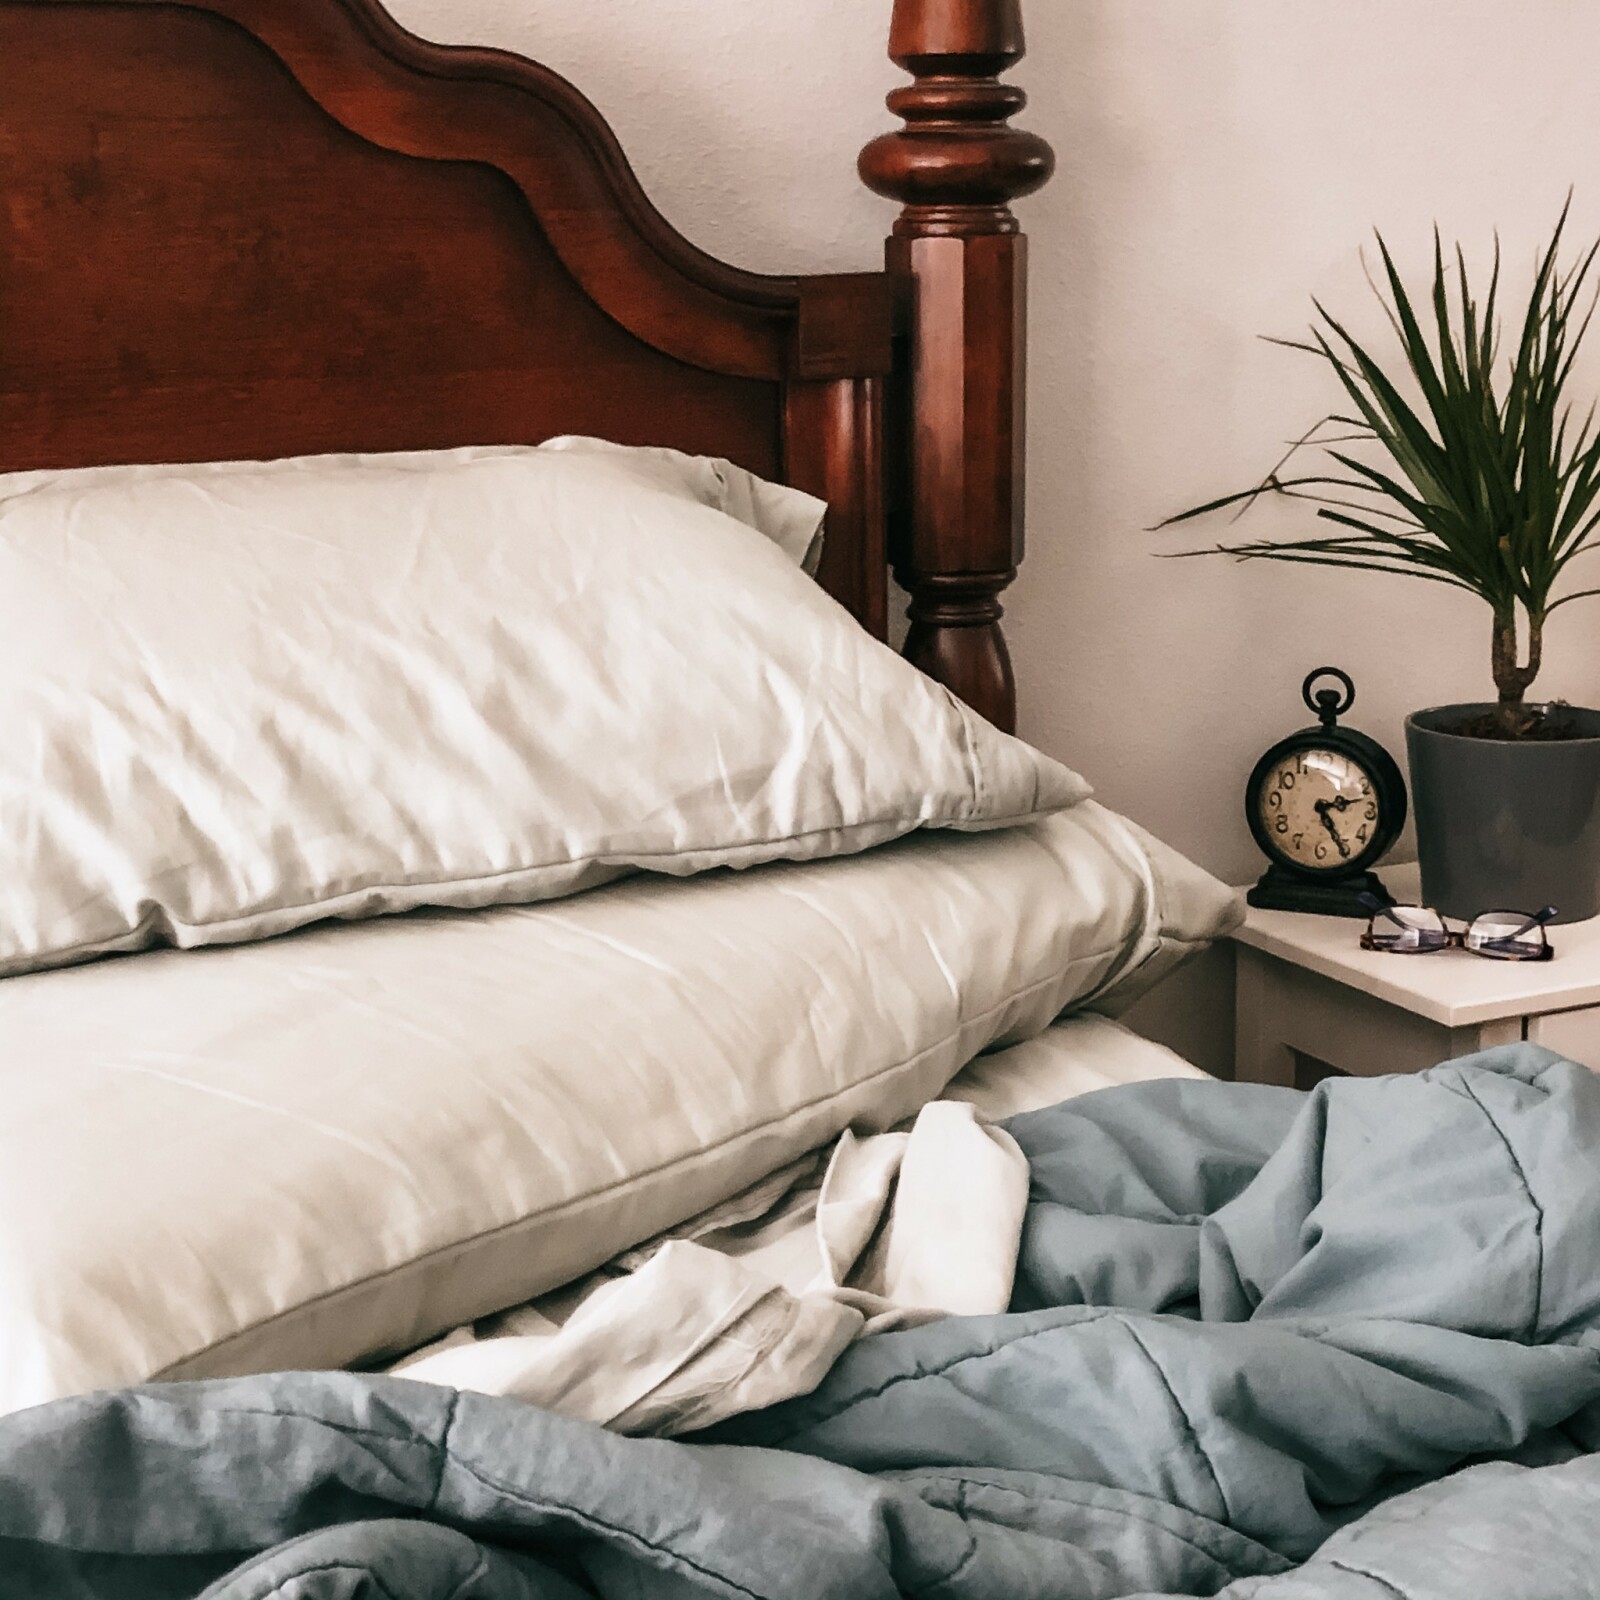
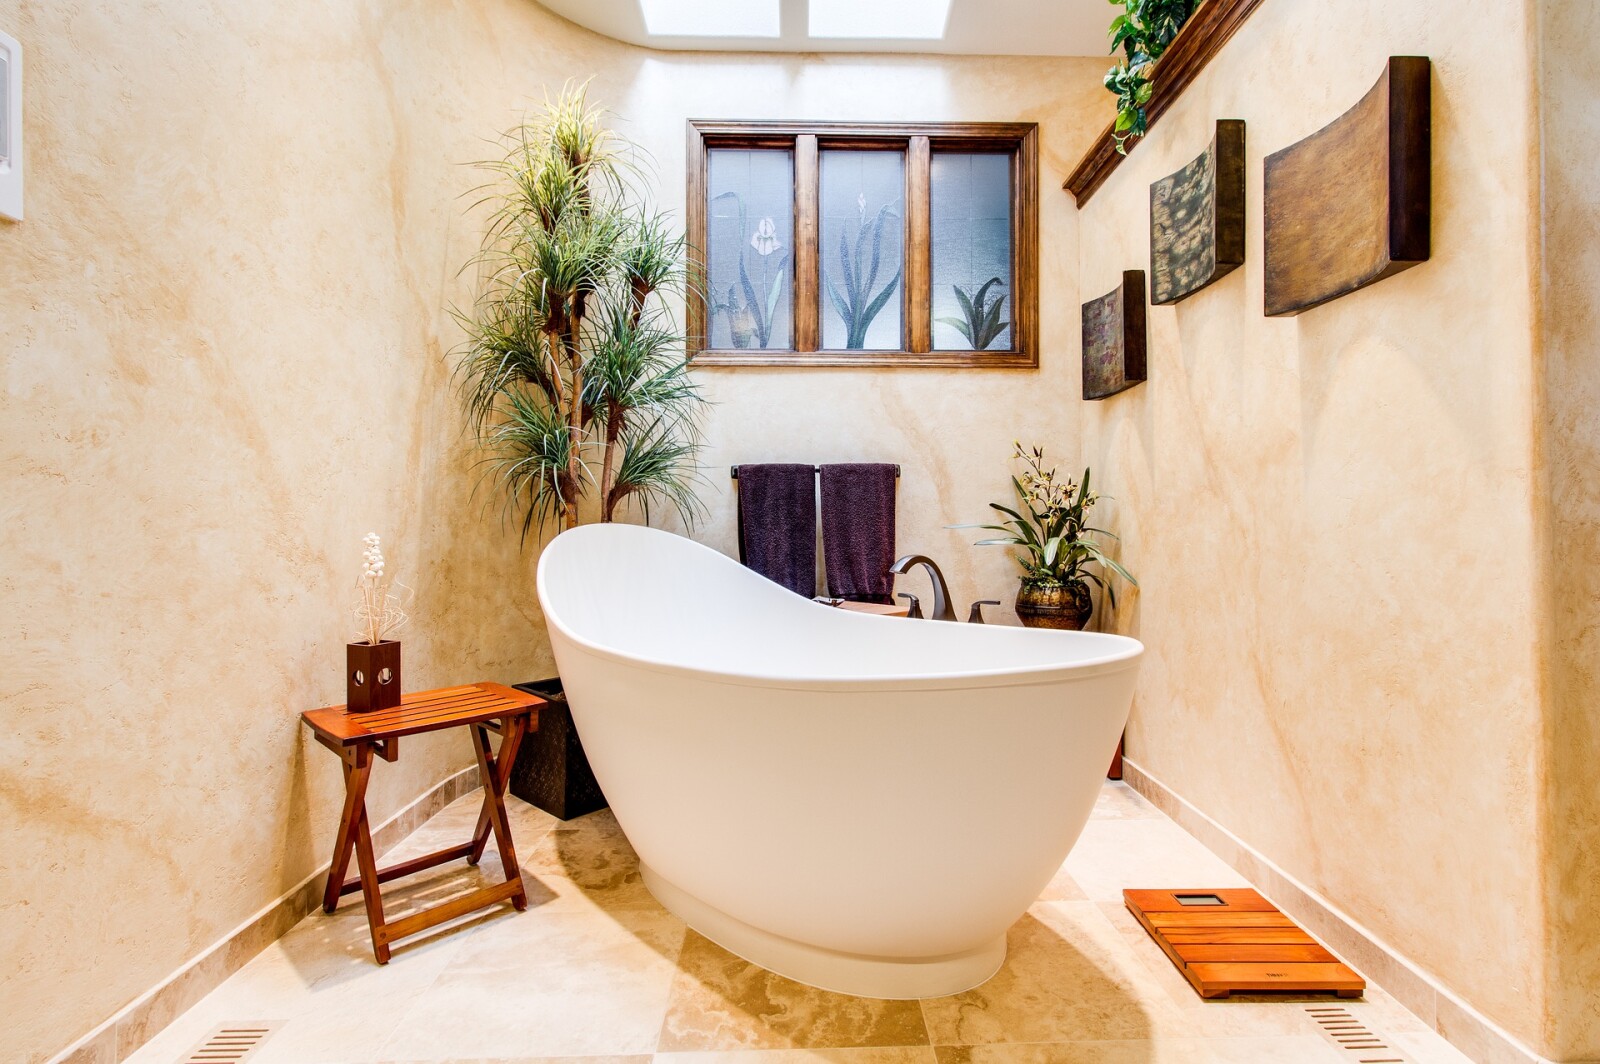
Are you a bath or a shower person? I am usually a shower person for the day to day, but I looooove me a good soak in the bath. Baths give me time to relax, recharge and just block out all the noise. (All the noise, noise, noise, NOISE! --for all my Grinch fans out there)
I used to fill my tub with all kinds of bubble bath and crazy concoctions to try and get that spa-like zen that I so desired. Now, I know that many of those concoctions were actually working against me with their artificial fragrances and yucky ingredients. So, I still take baths, but now my concoctions are homemade and actually have benefits for my whole body.
Setting the Stage:
The first key for me is setting the stage. When the kids were little, I would wait until I had them asleep or I would rely on my partner to be on point for all kid related issues. Bath time was not to be interrupted! In preparation for my bath, I would also give it a quick wipe down. I feel like this was kind of like tricking myself into cleaning that big ole tub, but whatever! I didn’t want to be soaking with all the dust and hair that had accumulated. I once lit candles, but now I start up my battery operated ones. I love to have a diffuser running on my bathroom counter with a little eucalyptus and lavender in it. Ahhhh, I’m almost to zen.
Epsom Salts:
Then I mix up my Epsom salts to put in the water. I had heard of Epsom salts before, but I never knew why people used them. Here’s the deal….Epsom is actually a magnesium sulfate that has a similar chemical structure to salt. When dissolved in warm water, the magnesium offers many benefits to the body. Magnesium helps your body produce melatonin which helps you get a better night’s rest. Magnesium has also helped improve moods with an increase of serotonin. Epsom salts help relax muscles, reduce muscle soreness and relieves muscle cramps. Whether it is for emotional or physical reasons, adding Epsom salts to your bath has inherent benefits.
Essential Oils:
When I use Epsom salts, I like to kick things up a notch and include essential oils. By adding the oils to my Epsom salts, the oils have a chance to disperse throughout the bath water, rather than just float on top like an oil slick. (Nobody wants that!) I take about a half cup of Epsom salts and add 4-8 drops of essential oil. After stirring or shaking in a jar, I pour the Epsom salt and oil mixture into my filling tub. Not only do I experience the benefits of the essential oils aromatically as the scent fills the room, I also get the topical benefits as well.
Favorite Recipes:
I like to mix things up, kind of like a mad scientist, with my Epsom salts. I like to mix something that has great physical benefits with something that helps with my emotional needs. Afterall, my baths are to both relax my body and my mind. When I first started out, I would rely on recipes though, so I’m going to share two of my favorites with you.
Chill Out Dude!
½ cup Epsom salts
3 drops of Peace and Calming essential oil
3 drops of PanAway
Happy Mama
½ cup Epsom salts
2 drops Bergamot
2 drops Northern Lights Black Spruce
2 drops Frankincense
Start your tub running warm water while you mix up your salts.
Put the Epsom salts into a small bowl or little mason jar. Add the essential oils from the recipe of your choice.
Mix the oils into the Epsom salts by stirring or shaking in the jar.
You want to pour the mixture in a tub that is about half way full. This allows the flowing water to help with mixing the bath salts throughout the tub.
Let the tub finish filling and then enjoy your relaxing oasis.
Not all essential oils are created equally. If you want to know what I use, send me a message and I can fill you in on the only oils I trust for my family.
Interested in increasing your overall wellness? I created a free guide to kickstarting a healthy school year. It is perfect whether you are a teacher, student or any kind of human. Check it out over here.
Want to subscribe to my blog so you don't miss a thing? Click here and I'll shoot you an email whenever a new blog post lands.
Want to subscribe to my blog so you don't miss a thing? Click here and I'll shoot you an email whenever a new blog post lands.

I don't know if you wear makeup daily or not. (Lately I'm more of a “not” kinda gal!) When I do wear makeup, my struggle is always how to remove that eye makeup. Waterproof mascara serves a purpose, but it's a devil to take off.
So, here's the deal...We put chemicals on our skin and eyelashes to get them to stay all day, but the only way to take them off is to add more chemicals for removal. That's nuts!
Your skin is the largest organ in your body. All of those pores absorb EVERYTHING that is rubbed in, sprayed or applied during your day. If it goes on you, it gets in your bloodstream. So, if your eye makeup remover has parabens, phthalates, Sodium Lauryl Sulfate or even "fragrance" you are probably doing more harm than good.
I know you are not lining up to say, "Hey give me more chemicals in my body please!" So, what's the solution?
When taking off your makeup, you can use more natural options that you may actually have in your kitchen right now.
I love to put a little bit of coconut oil right on a cotton pad to remove my eye makeup. It works like a charm and I wash my face afterwards with my natural cleaner and all residue is washed away.
I hear other people try olive oil, but that tends to be a little thicker and leaves me feeling greasy. Sweet almond oil and Jojoba are also great at removing eye makeup. Basically, a fatty carrier oil like those mentioned above will do the trick.
Are you wanting something more? I found a great recipe in my research that really works well.
Makeup Remover Pads
From Dr. Lindsey Elmore:
Ingredients
1 tablespoon witch hazel
2 tablespoon fractionated coconut oil
2 tablespoon distilled water
4 drops lavender essential oil
2 drops frankincense essential oil
Equipment
Cotton rounds
4 oz. glass jar
Instructions
Mix witch hazel, coconut oil, water, lavender essential oil, and frankincense essential oils in a small bowl.
Whisk to combine.
Place cotton rounds inside glass jar. Pour mixture over the top of the cotton rounds.
Screw on lid, and invert jar a couple of times to saturate the pads.
Store at room temperature for a few weeks. I recommend making small batches more often so the risk of bacterial contamination is lower.
**Added bonus: You can feel good about ALL of the ingredients you are putting on your face!
Have you tried a natural oil based makeup remover before?
Interested in increasing your overall wellness? I created a free guide to kickstarting a healthy school year. It is perfect whether you are a teacher, student or any kind of human. Check it out over here.
Want to subscribe to my blog so you don't miss a thing? Click here and I'll shoot you an email whenever a new blog post lands.
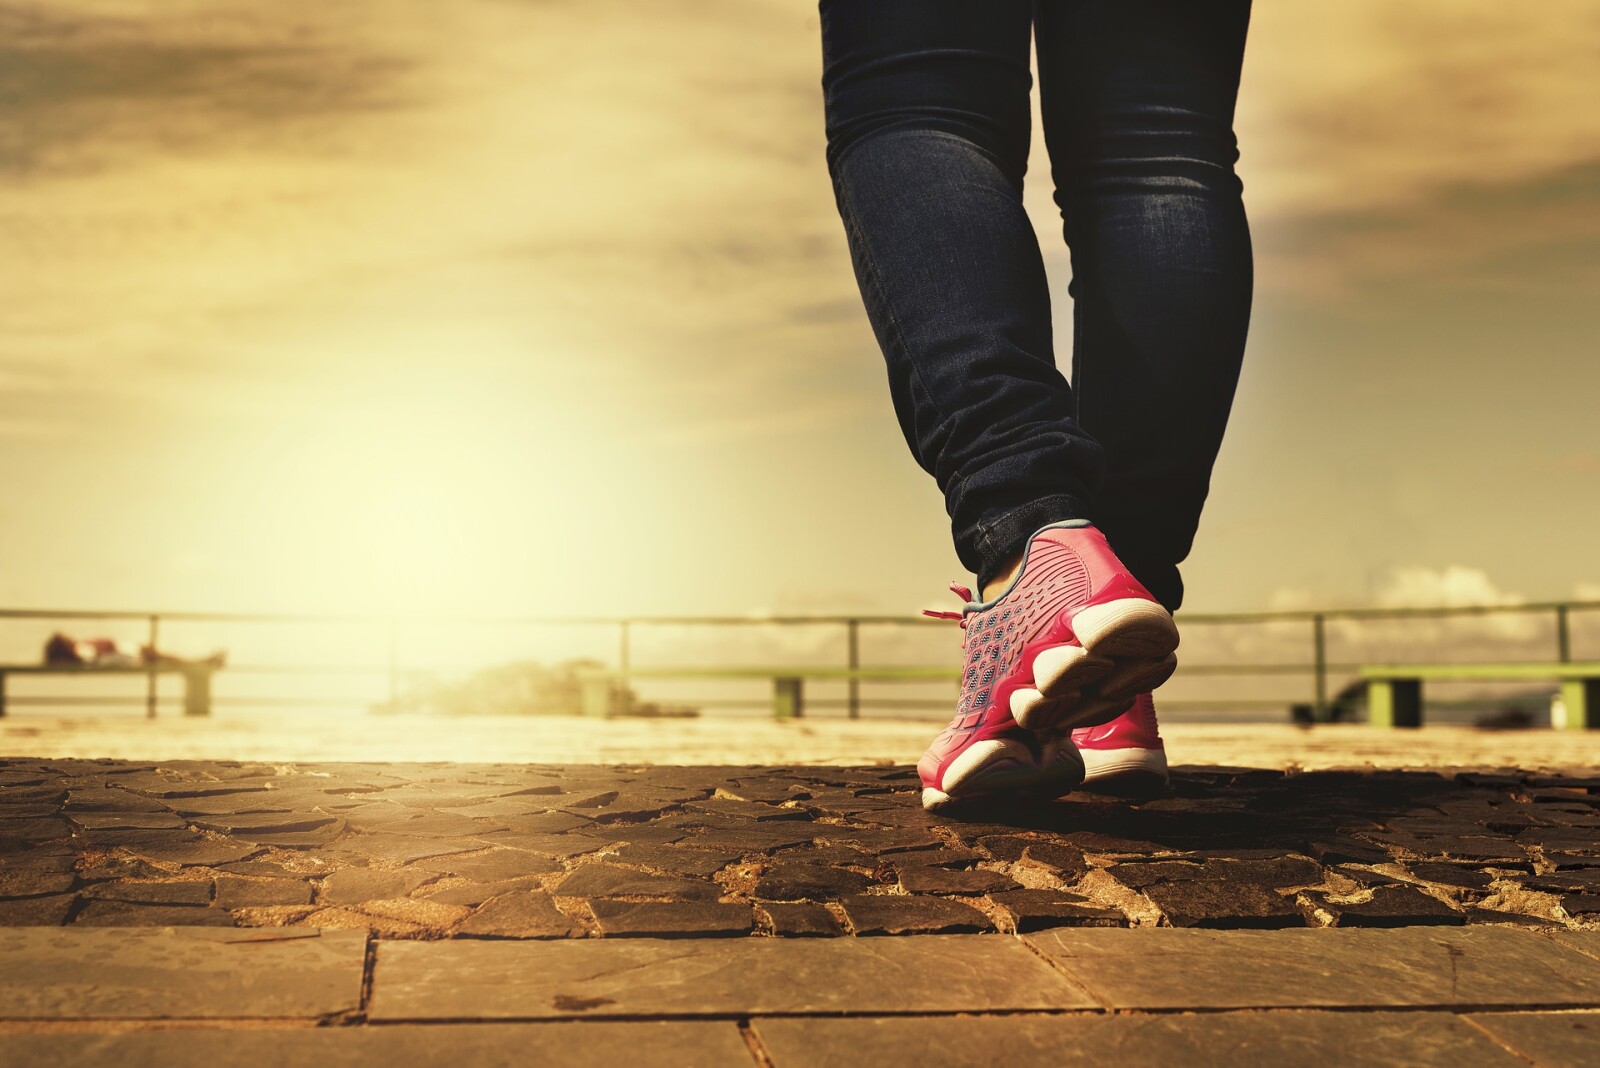
Walking is a wonderful way to add movement into your fitness routine. It is accessible to just about anyone. It is easy on your joints and you do it everyday anyway. Why not walk with purpose?
Why walk?
Walking reduces natural painkilling endorphins to the body. The more steps you take, the better your mood.
A brisk 30 minute walk burns about 200 calories. Over time, this can lead to weight loss.
Walking improves circulation and wards off heart disease. It brings up the heart rate, lowers blood pressure and strengthens the heart. According to researchers at the Harvard School of Public Health in Boston, women who walk just one to two miles a day can lower their blood pressure by nearly 11 points in 24 weeks. Women who walk 30 minutes a day can reduce their risk of stroke by 20%, and by 40% when they stepped up the pace.
Walking eases joint pain. Walking helps lubricate and strengthen the muscles that support the joints. Walking may even help prevent arthritis.
Walking boosts immune function to allow your body to naturally fight off upper respiratory tract infections.
Walking increases oxygen flow through the body. By increasing levels of cortisol, epinephrine and norepinephrine you will feel elevated energy levels.
How to get started
Start small. Set a timer for 10 minutes and start walking. When the timer goes off, turn around and come back. Gradually increase your time so you are walking at least 30 minutes each time. You can continue going out and back, or look for a loop that is around the same distance.
Grab a walking buddy. Being accountable to someone else, helps you stay on track. If you have a set time that you will walk, you both are less likely to make an excuse and miss the walk.
Walk in good shoes. A good pair of athletic shoes can prevent injury. You want something with a supportive arch and soles with traction to fit your walking surface.
Change your route from time to time so you don’t get bored.
Live in a place with seasons that make walking outside challenging? Consider walking in the mall. Many malls have a walking program and you can just ask at their information booth about the distance around the mall. I used to mall walk all the time right after I had my babies. I could push my stroller in the climate controlled building. I was window shopping as I walked, so when I finished my “workout,” my reward was to be able to go into the stores if I so desired. Workout first, shopping second!
How can I fit this in?
Consider your schedule. You can go walking first thing in the morning before the pressures of the day sideline you. You could go walking on your lunch break, or after work. Some people find that a walk after dinner helps with digestion. Overall, choose a time that works best for you
Take this time to pray. Maybe, you do your devotional reading before you go out walking and you can pray while you walk. I have had many a conversation with God while out walking in my neighborhood.
Listen to music. There are many music streaming services available that have playlists designed just for movement. Choose your favorite genre, put in your earbuds and get going. You can even create your own playlist with songs that motivate you.
Put on a good podcast or audiobook to listen to while you walk. You can be entertained at the same time as getting more fit.
If you want to involve the kids, put them on their bikes as you walk and you will pick up the pace to keep everyone together. Of course, you will have to give them stopping points so they don’t get too far from Mom. ;-)
Walking is one of my favorite forms of exercise for all the reasons listed above. It is a lifetime activity that is underrated, in my opinion, for improving your fitness levels.
Keep in mind that I am not a doctor. Please consult your physician before beginning any new fitness routine.
Where will you go walking?
Interested in increasing your overall wellness? I created a free guide to kickstarting a healthy school year. It is perfect whether you are a teacher, student or any kind of human. Check it out over here.
Want to subscribe to my blog so you don't miss a thing? Click here and I'll shoot you an email whenever a new blog post lands.